Creating a Hook Tube Sconce
Beau Wynja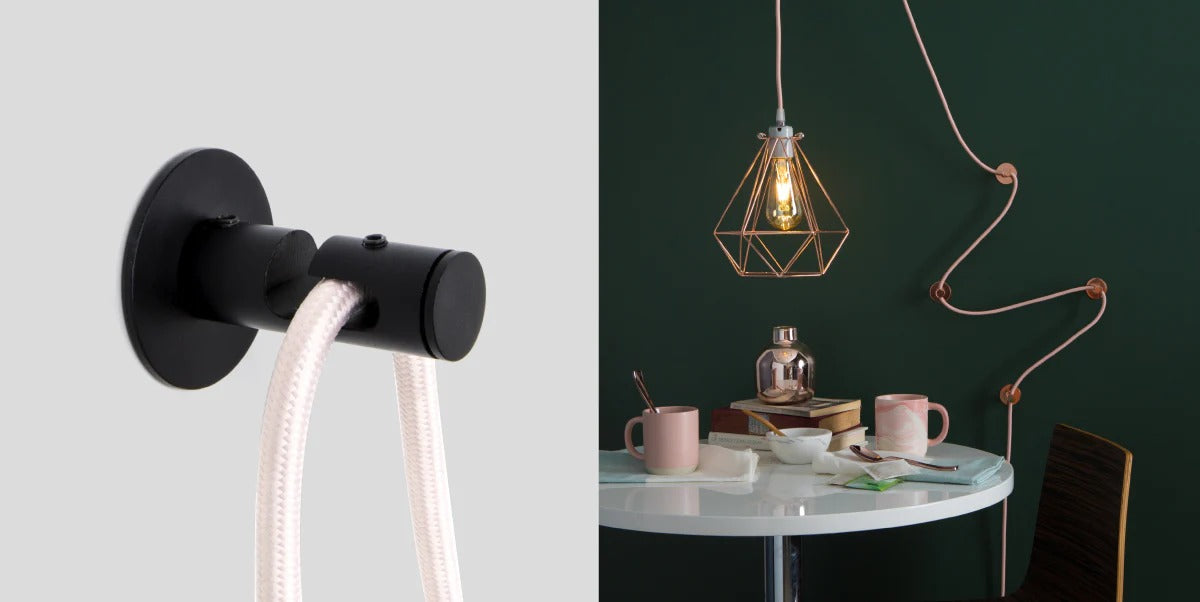
Swag Sconce
Color Cord Company has a special pro tip for you! Swag hooks are not only for swag, they can also give your space more life, energy, and style. When thinking about swag hooks, people typically only think CEILING, but the pros also think WALL. So if you want to enhance your lighting decor like a professional, you’ll need to think like one to get the job done!
Yes, that's right, hooks look and perform great with wall installations, and they provide a great way to keep the cord from your plug-in pendant out of the way. Use them to manage your color cord all the way up to the ceiling, or stop and have your fixture hang on the wall as a swag sconce. Follow our hooked wall light tutorial to learn how to create your own today!
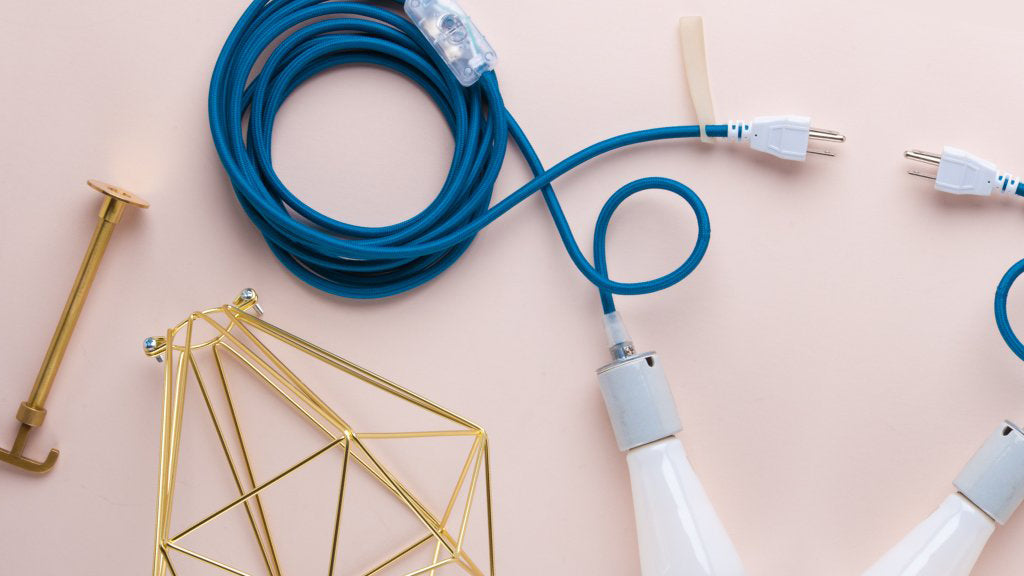
Tools & Materials
 To get your light off of the wall, we made our hook wall plates compatible with our 1/8 IPS tubing. All you need to do is add a single length of tubing (we offer from 2" to 12") and a 1/8 IPS Coupler to your cart. Measure the available space for your hooked wall light and decide on the tubing length before finalizing your order. You’ll also need to decide on the finish for your metal components, as well as your preferred swag hook style.
We currently have pinch, round, and t-swag hook options in a variety of finishes to match your other hardware. Choose from black, white, polished copper, solid raw brass, brushed nickel, and raw metal finishes. The raw metal finish option is typically for people who want to paint the hardware for their swag sconce in a custom color.
Swag Sconce Options
There are a few ways you can utilize your swag hooks to create a unique wall pendant light. You can use the combination of tubing and hook to extend your bulb with a shade or cage out from the wall (make sure it’s not at head height, or you may find yourself banging your noggin a little too often!), or you can use multiple swag hooks to manage your cord from the ground up.
How-To With Tubing
If you want to extend your light away from the wall, follow these steps to install a swag hook with tubing to get the job done.
- Thread the swag hook backplate, couple, tube, and hook together
- Attach the backplate to the wall at the appropriate height
- Secure the cord of your light fixture onto the swag hook
How-To with Multi-Hook Cord Management
The other way you can create a swag sconce is with multiple swag hooks attached directly to the wall at varying heights, without tubing to extend it away. For this hooked wall light project, create a unique design along the wall with your cord and count how many swag hooks you’ll need to hold the cord in place. Then, mount the hooks to the wall and wind your cloth-covered cord from one to the next for a chic way to manage your cord!
Which swag sconce style do you prefer?
Project Done in 3…2…1!
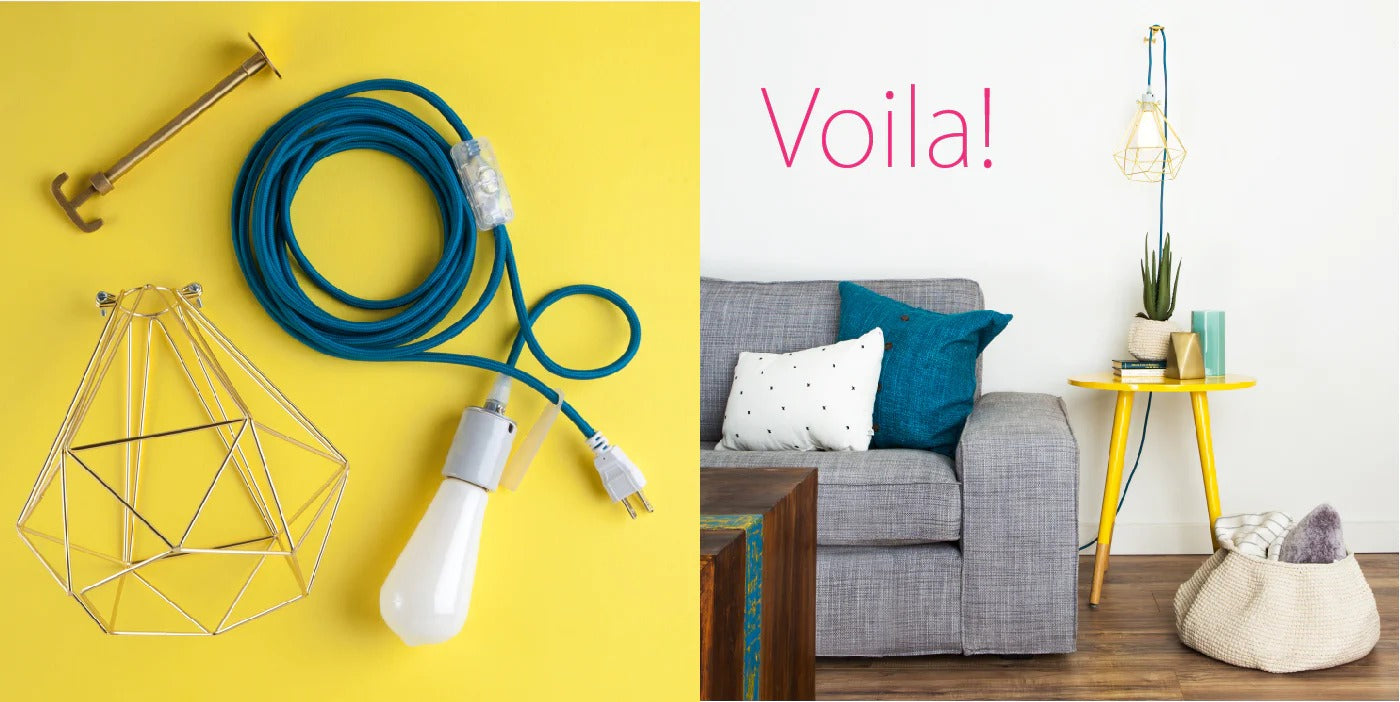
You’ve followed our guide to spice up your current plug-in fixture and your space looks completely revamped. Congratulations! You're officially a swag hook pro, and your ceilings and walls thank you.
If you’re looking for other tutorials and guides to enhance your lighting and make your space a little more exciting, check out our blog for more DIY projects and creator roundups! You can also explore our gallery to find additional lighting inspiration for every aesthetic.
Have questions about this swag sconce tutorial? Reach out to our team with any questions, comments, and concerns!