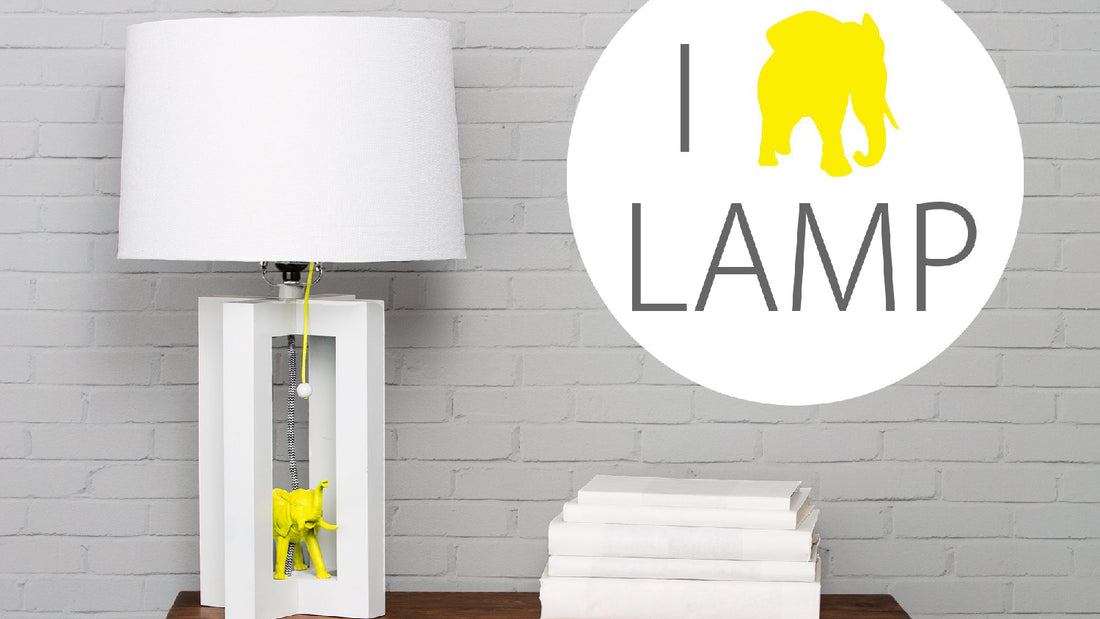
Lamp Makeover: Changing Your Lamp Cords
Beau Wynja
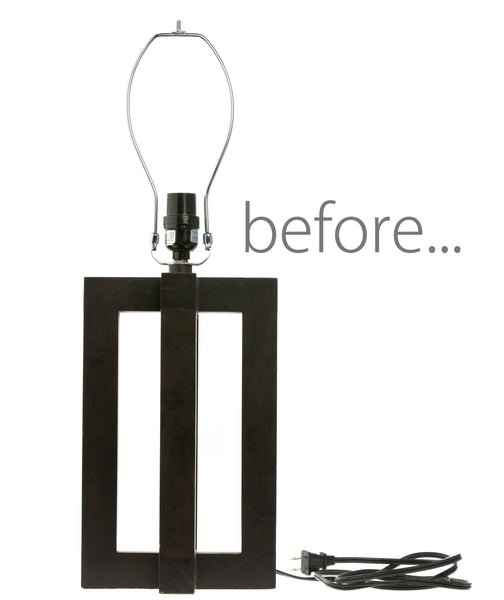
Before
Planning Stages
At Color Cord Company, we love showcasing our fabric-covered lamp wire, which comes in every color of the rainbow. While we had easy access to the cord, we still had to reroute it from its original path hidden within the base of the lamp and follow it down the center of the lamp base.
We merely drilled a hole in the center of the bottom of the base of the lamp, and deepened the existing light cord channel to meet the new hole we drilled. We were able to utilize majority of the existing lamp pieces, only needing to purchase a two-prong plug and the internal socket component from our local hardware store.
Supplies
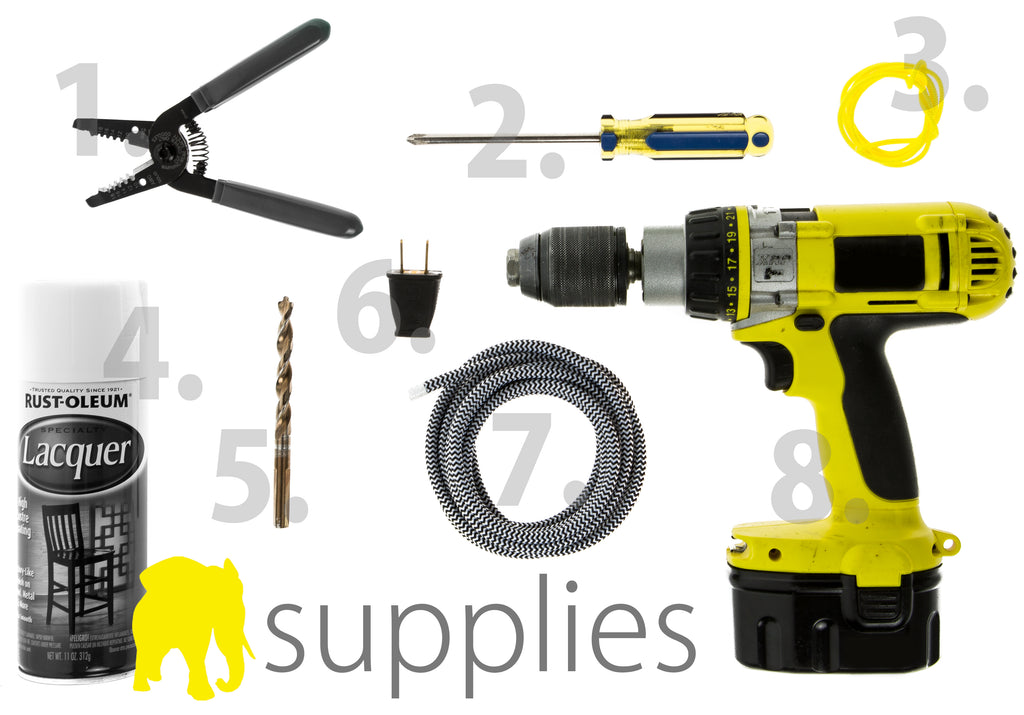
- Wire Stripper
- Screwdriver
- Neon Yellow Paracord
- White Lacquer Paint
- 3/8 drill bit
- 2-conductor plug
- 10’ Black and White ZigZag Cord
- Drill
How-To
We decided that we were going to use our Black and White ZigZag fabric-covered light cord to provide some visual interest to our lamp while letting our neon yellow accent color take center stage. While out and about gathering our DIY supplies, we picked up a pair of $1 kid’s toys and thought that they were the something extra this lamp makeover needed. We weren’t sure whether or not to go with Godzilla or the elephant, so we figured we would let them battle it out once they got their new neon paint job.
Elephant vs. Godzilla
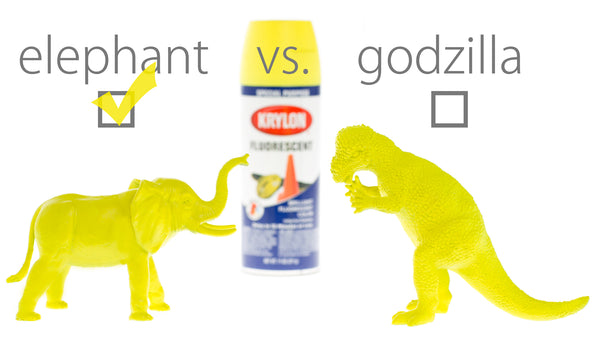
After a gruesome battle of epic proportions, and a shocking twist, the elephant beat out Godzilla. His prize? A hole drilled through his body and to be displayed proudly in the center of our incredible lamp. After having the cord run through the lamp base and the belly of the elephant, it was time to wire it.
We also decided to experiment with pull chain socket innards so we could swap out the chain with a neon yellow paracord for another pop of our accent color. Our socket and plug were both 2-conductor, but our ZigZag cord is 3-conductor, so we simply clipped the ground wire and left it unused while wiring the lamp.
How to Change a Lamp Cord
Changing the cord for this lamp makeover was pretty easy. We simply swapped out the internal socket components where the bulb connects, attached it to our new cord, threaded the cord through the lamp body, base, and elephant, and installed the two-prong plug to ensure compatibility with nearly any socket.After
