
DIY Project: Wine Bottle Pendant
Beau WynjaDIY Bottle Light
At Color Cord Company, we love doing DIY projects that personalize your space with themed home decor. Whether your aesthetic is rustic and boho or minimalist and modern, we have projects for all! For this project, we’re using a Christmas-sy theme to turn a clear glass bottle into a functional pendant light. With just a bit of yarn, some rubbing alcohol, and the awesomeness of science, you can follow along on this creative adventure.
Read this tutorial for a wine bottle pendant light and create your own new accent fixture for dining rooms, kitchens, and reading nooks.
Materials:
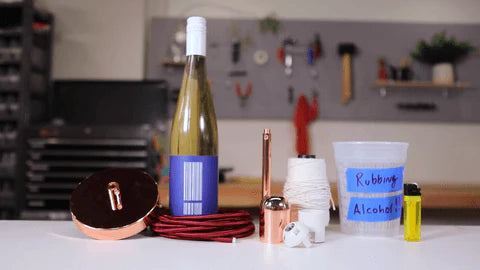
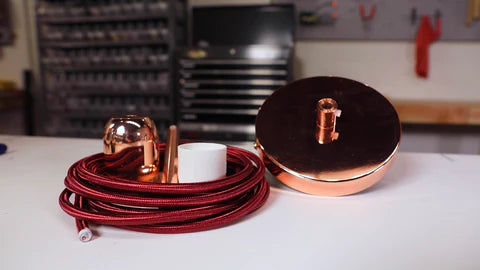
- Cloth Covered Wire
- Basic Ivory Socket
- Round Metal Socket Cover
- 6" Stem Cord Grip
- Single Port Ceiling Canopy
- Clear Glass Bottle
These are the lighting basics you need for the wine bottle pendant light, but you may also want to grab a few additional supplies to make your project a little easier, including:
- Goo Gone
- Rubbing Alcohol
- Yarn
- Frosted Glass Spray Paint
- Lighter
- Ice Water Bath
- Tape
- Wire Strippers
Tutorial:
Gather all your tools and supplies for this wine bottle pendant light project before getting started to set yourself up for success. We strongly recommend reviewing the below guide thoroughly beforehand, too, so you can work on this project with ease!
Step 1: Emptying & Cleaning Glass Bottle
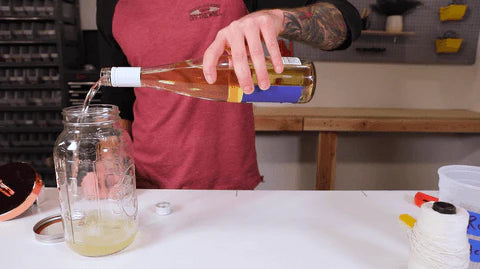
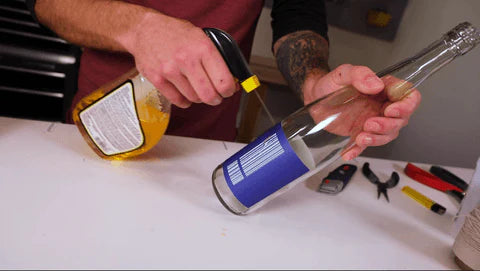
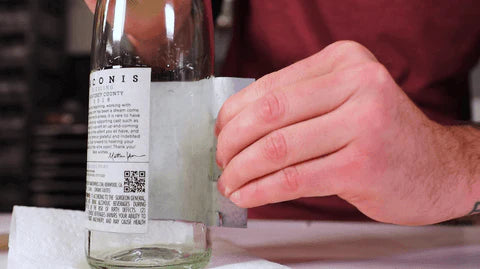
Rather than tossing your empty bottles in the recycling bin, you can repurpose any wine bottle for this purpose. In our own project, we poured out the riesling wine from the bottle (we're red wine fans) and removed all of the labels with some Goo Gone. This product easily peeled the paper and the glue off, leaving us with a clear glass bottle for our DIY bottle light.
Step 2: Soaking The Yarn & Wrapping The Bottle
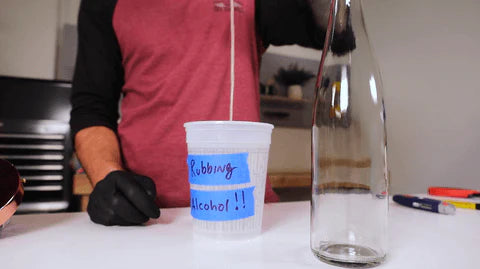
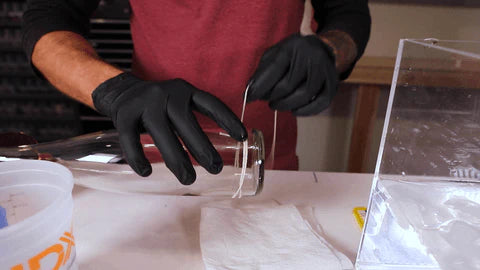
Now we turn our attention to the magic of science! Soak your yarn in rubbing alcohol and tightly wrap it around the base of the glass bottle for your pendant light.
We recommend pouring some rubbing alcohol into a container and letting the yarn sit until it’s completely saturated. When you wrap the yarn around the bottle, make three or four loops and tie it off to ensure it’s secure.
Step 3: Lighting The Yarn On Fire
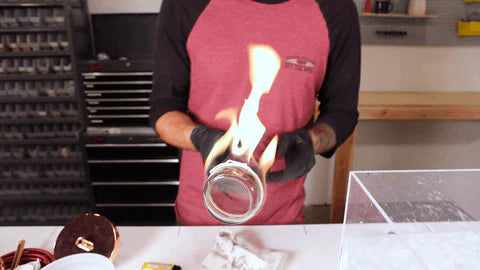
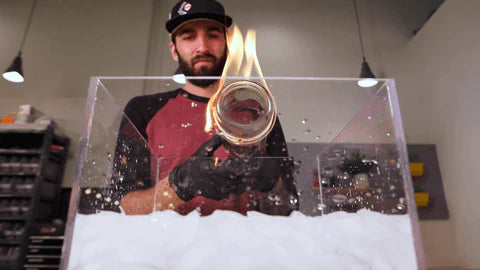
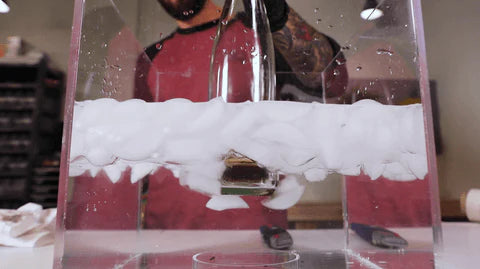
Rotate the bottle, holding it horizontally, to let the yarn burn evenly. Once the yarn heats up enough, rotate the bottle vertically and dunk it into your ice water. The glass should crack along the yarn and separate. Pretty cool, right?!
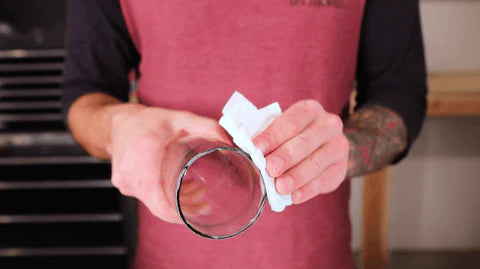
Carefully determine whether the glass has cooled enough to touch, and then clean up the soot left behind by the burning yarn to prepare your wine bottle pendant light for painting.
Step 4: Painting
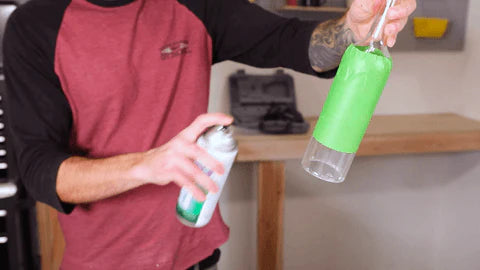
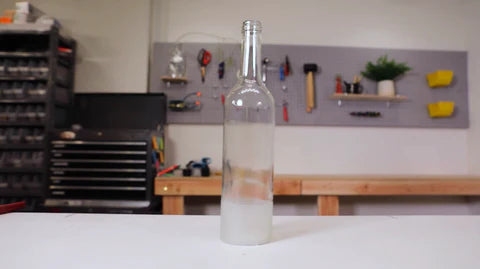
You can leave your DIY bottle light completely clear and move on to cleaning and wiring, but we chose to paint our bottle with a frosted glass finish. Taping the middle and top of the bottle allowed us to apply the spray paint just to the lower portion of the bottle and add a little texture and visual interest to the completed piece.
Step 5: Wiring Your Socket
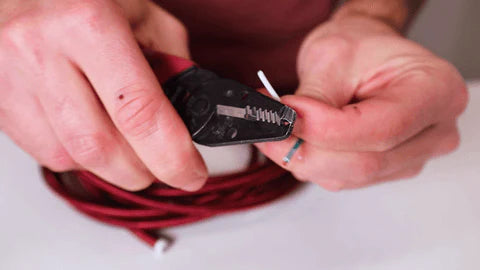
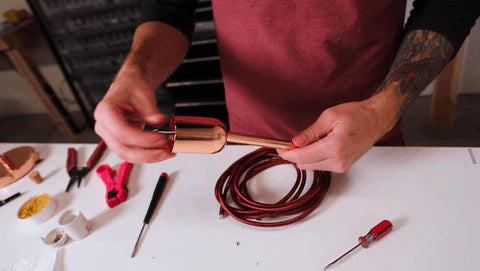
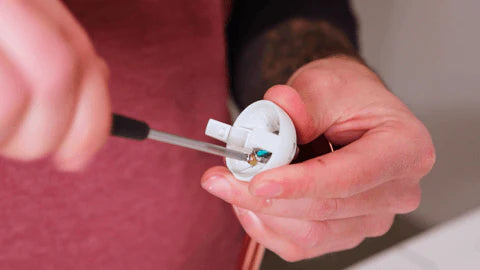
We cover how to wire an ivory socket in detail in one of our other articles, but we’ll give you a brief overview in our wine bottle pendant light tutorial as well to ensure you have everything you need all in one place:
- Untwist the cap on the cord grip
- Tape the end of your cord to easily slide on the grip cap and then the cord grip
- Wrap more tape around the cord about 1.25” from the edge
- Strip the PVC housing from the tape to the end of the cord to expose the wires
- Take care not to nick the conductor wires to expose the copper underneath
- Strip just the ends of the conductor wire to expose the copper in this area
- Twist the wire strands of each cord to streamline them and bend them at a 90° angle
- Loosen the ground terminal screw on the cap about ⅛”
- Expose the positive and negative ports
- Thread all three wires through the cap
- Align the cap with the terminal
- Attach each conductor wire to the appropriate port — green to ground, black to positive, and white to negative
- Re-align the wings of the cap and the side pockets of the terminal to lock the socket
- Twist the cord grip into the socket cap until it covers all the threads
If you have any questions about these instructions, we’re always happy to help. Shoot us a message in the chat and let us know you’re working on the wine bottle pendant light to get started!
Step 6: Threading The Cloth-Covered Wire & Installation
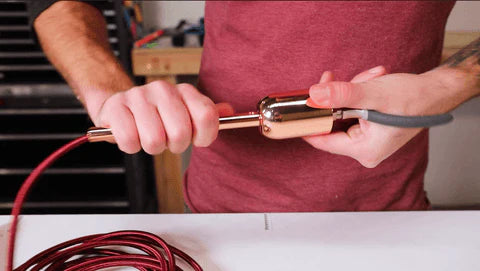
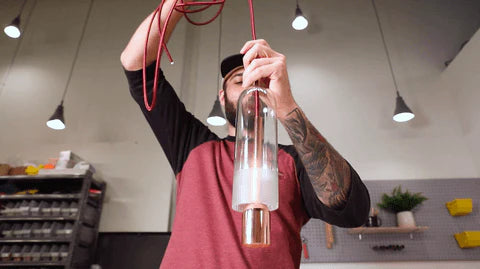
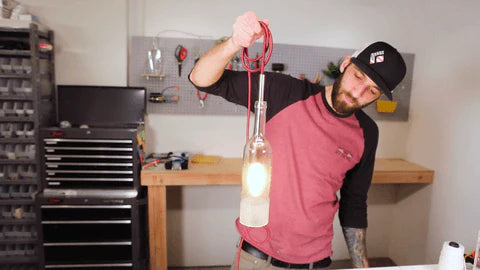
The final step of our wine bottle pendant light project is to thread the cloth-covered wire through the bottle and then attach the other end to a single port canopy. We chose to include a matching metal piece of tubing onto the socket to create a thicker diameter for the bottle mouth to find better purchase.
- Slide the tubing onto your cord from the loose end.
- Pull the whole thing through the bottom of the glass bottle pendant light and out through the mouth.
- Screw on the lightbulb and check the length at which it hangs out from the bottle bottom.
- Once you’re satisfied, wire the ceiling canopy and hang your new wine bottle pendant light.
Wondering which colors to choose for your DIY glass bottle? We love the contrast of the polished copper finish for the hardware with the currant colored cloth wire!
More Projects with Color Cord Company
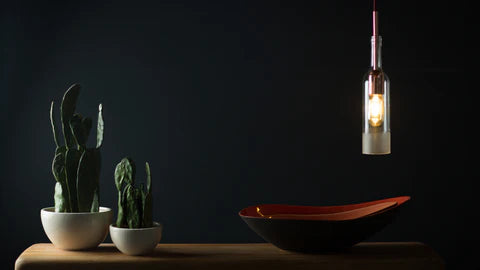
While this is an official Color Cord Company Christmas project, it’s a fun crafty activity any time of year. We have many more DIY tutorials for everything from wiring animals into your desk lamps to creating concrete accent lamps from scratch! Once you finish this wine bottle pendant light tutorial, check out all our other DIY projects to discover more ways to personalize the light fixtures in your space.
If you’re not really a DIY person, and this glass bottle pendant light was a one-time deal, you can also find ready-made light fixtures, shades, and bulbs that can transform your space in a heartbeat without worrying about stripping cords or wiring fixtures. Browse our selection of fixtures today to find the ones that speak to you!
