

Where to Get Started as an Artist Making Lights
Meggan WynjaAre you a ceramic artist, lampshade designer, or maker who'd love to turn your work into a light fixture? Good news, you don't need an electrical background to do it. This guide walks you through everything we typically cover with new makers, including where to start if you have zero idea what you're doing yet (totally normal, most people start there).
There are a few different ways to work with Color Cord, and you don't have to pick just one. You can buy our parts and assemble your own fixtures for full creative control, design your shades to fit our ready-made assemblies with no wiring on your end, or refer your customers directly to us so we build the fixture and you're out of the assembly and inventory business entirely. None of these is the "right" answer, it depends on how hands-on you want to be, and it'll get clearer which one fits you as you read on.
In This Post
Shade Compatibility
Here's the thing most new makers don't realize: there's no universal standard for shade openings. A shade that fits one socket won't necessarily fit another. So before you build out a full collection, get samples and prototype with our AiO, Standard, or Shade-Ready sockets to make sure your design and our hardware actually work together.
Here are three good starting points, depending on the fixture style you're after:
|
Plug-in pendant |
Basic plug-in pendant |
Hardwire flush mount / sconce |


If you don't have a specific fixture style in mind yet and just want something to prototype against, the Shade-Ready Button Light is a good default: it accepts any shade, bowl, or object with a 1 5/8" opening, and secures with a small shade ring, no gluing or wiring required.
Watch this short video for a plain-English walkthrough of shade openings and how your shade will actually sit on these assemblies:
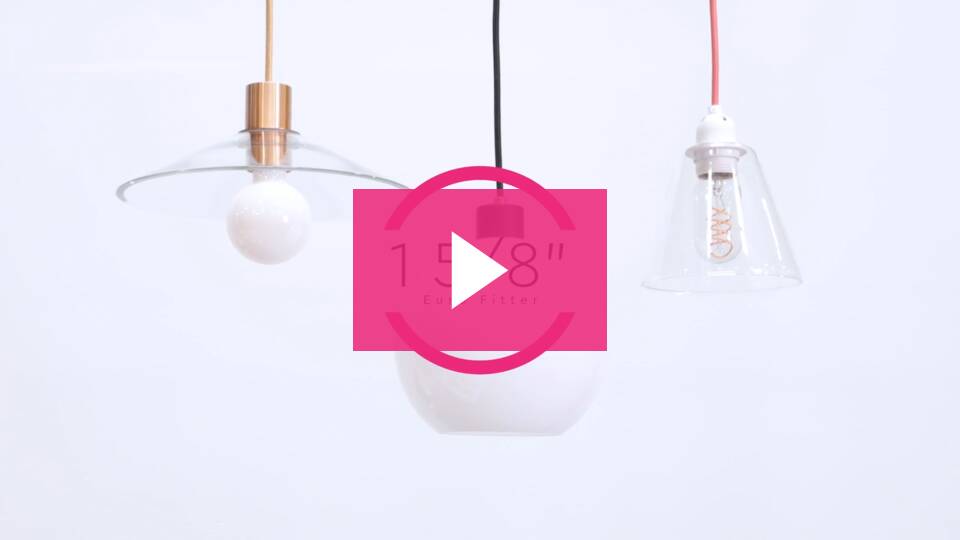
Once you know your shade fits, you're in business, literally. We offer full assemblies or individual DIY parts for sconces, flush mounts, chandeliers, and pendants, plus plug-in cord sets if you want something ready to hang.
UL/cUL Safety Ratings
A quick note since this comes up a lot: we can't advise you on UL requirements for custom fixture designs outside of what we offer, that's really a question for a certified electrician or UL directly. But here's what's useful to know:
- UL/cUL ratings are commonly required for commercial spaces, and plenty of customers look for that sticker even for residential use.
- Only assemblies built in UL-reviewed and approved facilities can carry that rating, and Color Cord is an official UL fixture provider, so our fully assembled cord sets come with the UL/cUL sticker.
- DIY-assembled fixtures won't carry a UL rating, even if you use our UL-listed parts.
- We're not certified for Europe or Australia, so keep that in mind if you're selling internationally.
Custom Designs or Full DIY

Some fixtures, like fixed shade assemblies, e12 sockets, or UNO sockets, will require some DIY on your part to marry your shade to the electrical components directly. We're happy to point you toward parts that work with our existing designs, or that are similar to setups you'll see on our site.
The most common of these is the fixed shade assembly, so let's start there.
Fixed shade assembly — more advanced, requires wiring. This is what you'll need if your piece has a smaller opening, sometimes called a slip opening, generally in the 3/8" to 1/2" range. Instead of your shade sliding onto a socket like our AiO or Shade-Ready options, the cord threads directly through your shade and is wired and secured in place, so the fixture isn't removable from the shade the way a Shade-Ready piece is. It's a common method among makers, but worth knowing going in that it involves real wiring, not just assembly.
Full step-by-step tutorial with photos for every stage: How to Assemble a Fixed Shade Cord Hardware Kit.
Whichever route you're building, the same advice applies: order a sampling of parts and build a prototype yourself, there's no substitute for holding the pieces and testing your own design against them. And know going in that we won't always have every single piece your design calls for. Our components are built to standard sizing, so they play well with parts from other vendors, and it's common for makers to round out a build with something from outside our assortment. If you can't find exactly what you need here, that doesn't mean the project's not doable, it just might mean sourcing a piece or two elsewhere to complete your vision.
If you're working with proprietary or unusual components we're not familiar with, it can be harder for us to advise, but send us photos of your fixture plan anytime and we'll take a look and help however we can. Our Guides page and D.I.Y. Blog are also great places to browse for inspiration and technique.
How to Get Started
- Do your homework, then order and experiment.Check out our Guides page, our D.I.Y. Blog, and the videos linked throughout this post. Then order a few parts and start experimenting. If you want something fully assembled with no wiring required, start with the Shade-Ready Button Light or the AiO Core Plug-In Cord Set, both accept any shade with a 1 5/8" opening. If you already have a piece in mind and want to build it yourself, order individual parts like the Shade-Ready socket.
- See what sticks.Test what works, what doesn't, and what your customers respond to.
- Grow into a Trade account.Once you're ready to expand your offerings and start ordering regularly, sign up for a Trade account for a 20% discount on future orders, no minimum required. If you eventually find yourself ordering parts in bulk at $1,000+ retail value, you can upgrade to a Wholesale account for even deeper savings.
- Decide your long-term approach.DIY parts, ready-made assemblies, or customer referrals, based on what you learn from that first round of prototyping.
Start small. A couple of cord sets or parts is plenty to begin testing with real customers before you scale up your ordering.
We love seeing our parts show up in other people's creative work, reach out anytime with questions, a photo of your project, or just to talk through your next step. We're here for it.


