
Whether you’re living in a smaller space or you’re looking for ways to enhance your lighting design with something a little more unique, the swag light could be the answer. If you already know about swag hooks and lights, great! This guide will help you learn how to hang swag lights with an easy practical tutorial. Don’t know anything about swag lights and hooks? That’s OK, too! Color Cord Company is here to provide you with a helpful overview to guide you through the entire process.
Ready to get started? Learn more about how to hang swag lamps, pendant lights, and more here!
Table of Contents
- What Are Swag Lights
- Types of Swag Hooks
- Choosing the Right Swag Hook
- How to Hang Swag Lights Tutorial
1. What Are Swag Lights?
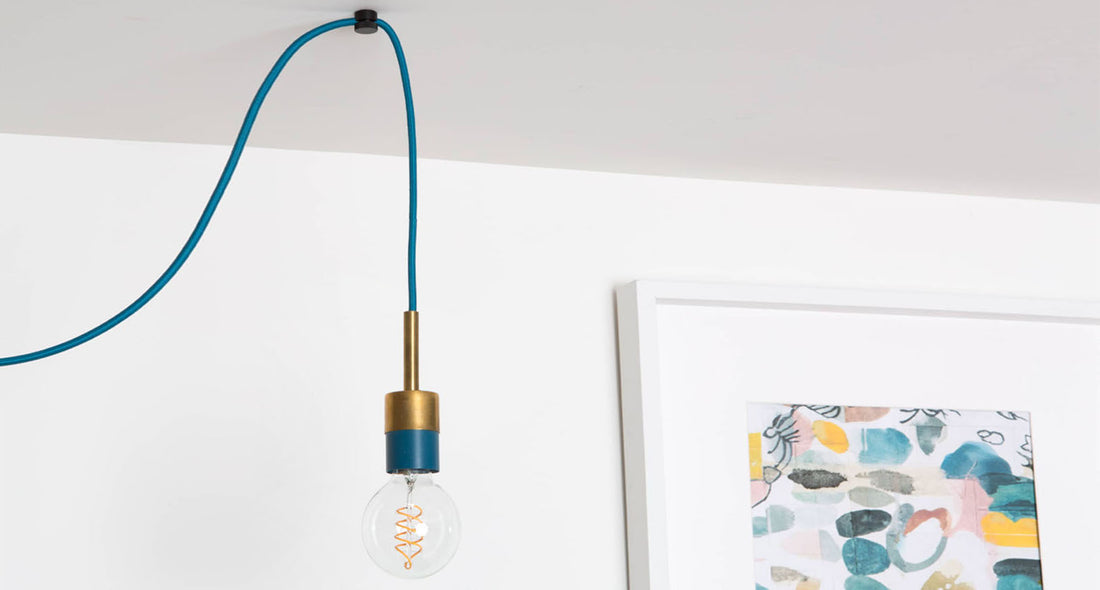
Simply put, a swag light is like a regular fixture, but it’s attached to the ceiling or wall in an unusual way that allows more precise hanging and customization. With a cord that plugs into a standard outlet, you can use different types of swag hooks to reposition and secure the cord and light nearly anywhere.
Swag hooks are easy to install and remove, making them the perfect choice for enthusiastic home DIYers who want to revitalize their space with new lighting. Just make sure you have enough length of cord to ensure your light hangs exactly how you want it to.
Learn how to hang swag lights, measure cord length, and install swag hooks when you skip to the tutorial below.
2. Types of Swag Hooks

Swag hooks make it safe and easy to learn how to hang swag lamps in unique positions. But how many types of swag hooks exist and how do you choose the right one? Let Color Cord Company show you the way.
Basic Swag Hooks
The basic swag hook comes in two styles, the toggle hook and the screw hook. Toggle hooks can handle up to 5 lbs. Our screw hooks are made to carry 10 lbs that screw into wood or ceiling joists. Generally, we recommend mounting your swag hooks into joists whenever possible.
Pinch Swag Hook
The pinch swag hook is a sleek design that’s meant to complement the finish of your custom fixtures. You can find it in one of six finish options, including polished copper, brushed nickel, and even raw metal if you want to paint it to match your cord color. Note that our pinch hooks are designed to work with a cord that is ¼ inch in diameter and will not be compatible with thicker cords.
Our pinch swag hooks are shaped like short rods with a thick groove that allows you to secure lamp and pendant light cords in place, whether you’re learning how to hang your swag lights from the wall or the ceiling. We recommend using pinch swag hooks with no more than 10 lbs in wood or ceiling joists or with the appropriate anchor for your application.
Round Swag Hook
Like the pinch swag hook, you can find our round swag hooks in a variety of finishes to match your fixtures. However, the round swag hook has more of a traditional hook shape that makes it ideal for ceiling hangs. Use the round swag hook to hold up to 10 lbs of weight mounted into a ceiling-joist or wood piece. For drywall mounting, you’ll need to use an anchor accessory to stabilize your hang.
T Swag Hook

Shaped like a T, you can use this type of swag hook on nearly any wall or ceiling. With a max weight load of 10 lbs when you use an anchor, the shape of this hook allows you to loop your cord around it as many times as you want. It’s one of the most unique-looking and versatile designs.
Cord Stay
The last swag hook type you need to know about before we move on to teaching you how to hang swag lights is the cord stay. Use this stay to subtly mark the path of your cord along the wall or ceiling, keeping your lines straight and your light secure at every connection. Our stays come in several finishes to match your decor and can support a maximum of 3 lbs with stud or joist placement or when paired with the appropriate anchor.
3. Choosing the Right Swag Hook
Often, the material of your home will determine the type of swag hooks you can use. For example, you can’t use basic swag hooks in brick, concrete, or plaster – only with wood and drywall. Other times, the weight of your fixture will lead you to the right choice. Some hooks can only handle a couple of pounds, while others can hold up to 10 lbs securely. Look into the technical specifications of your preferred swag hook and make sure it matches up with your lighting fixture weight, ceiling or wall material, and personal aesthetic.
The technical specs of the various swag hooks may force you to choose one over the other and incorporate support accessories like anchors before you learn how to hang your swag lights.
4. How to Hang Swag Lights | Tutorial

Ready to learn how to hang your swag lamp or pendant light? This tutorial is for swag hooks that screw into place – not toggle hooks:
- Find the wood strapping or joists in your wall or ceiling closest to where you want to hang your fixture. Use a post finder to find these.
- Choose your drill bit to ensure the hole you drill will be slightly smaller than the thickness of the swag hook insert.
- Drill a hole into the area where you found the joists or strapping that’s just a little longer than the length of the insert.
- Thread the insert into the swag hook using the non-pointed end.
- Twist the insert into the drilled hole until the base of the hook is pressed tightly to the wall or ceiling.
- When it’s fully secured, test the strength of the hook by pulling on it with enough power to mimic a weight slightly higher than your fixture.
- Use additional hooks and stays along the joists to create a sleek line from the outlet to the end of the fixture.
Now that you know the basics of how to hang swag lights, you can play around with the aesthetics to create something unique! Your cord doesn’t have to be hidden behind furniture and accessories! Let it stand out when you use stays to create asymmetrical designs along ceilings and walls that add spots of interest to your space.